
This design is inspired by a gift wallet seen on Martha Stewart's website.
 Products used: Pink Paislee Mistletoe & Co. Naughty or Nice pp, Postcards pp, borderline stickers, Impressions stamps, & Staz On Ink-jet black.
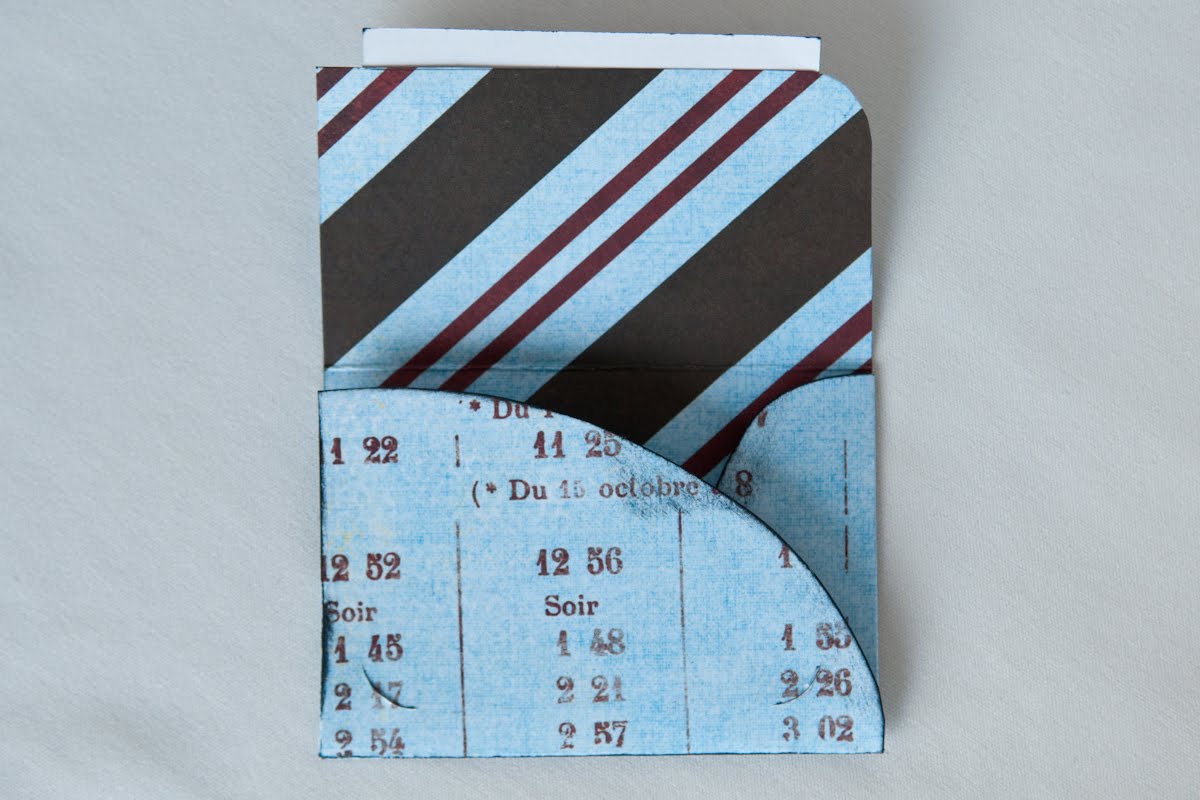
 This was probably the easiest of the gift card holders to make.
- Cut two sheets of double sided paper down to 7 3/4" x 3".
- Trim one down so it measures 7 1/2"x 2 1/2". That will be the inside pocket.
- Round corners of outside wallet & bottom corners of inside pocket.
- Fold both in half and then glue around edges of inside pocket. Be sure to leave enough space to you can fit a gift card or some cash.


 Products used: Mistletoe & Co Postcards pp, Press ons, Impressions stamps, Stickles-baby blue, burgundy, & Staz On Ink-jet black.
 I used an Artist Trading Card envelope as my template. The printout is not to scale so I did some simple math and then used a ruler to draw out my own template.
- Measure out the bottom tab 1" long, the top tab 1 1/4" long, the left tab 2", the right tab 1 1/2" and the length of the body 3 3/4" long and the width of the body 2 1/2".
- Cut corners out and round so your template looks like the above.
- For a little extra special look, cut a half circle out of the top edge of both left and right tabs when then are folded over properly. The gift card will slide out more easily.
- Use your choice of adhesive and go to town.
I adore these press ons and how well they coordinate with all the papers.


 Products used: Pink Paislee Mistletoe & Co Santa's Workshop pp, punch outs, Cat'slife press handmade stamp, Staz On Ink-jet black.
 The template that I linked for this is pretty close to the accurate size. I printed it out, Dan cut it out and I found it was a little short in the width, so the gift card wouldn't fit. When making the template above, I traced the print out and then made it 1/4" wider. This just needs to be played with a bit before you get it looking like the final product.
Pink Paislee's punch outs are great for journaling, embellishments, layering, and many more cool crafty things. I love them and have to get them every time now.
 This is my own simple creation. I had some left over scraps and came up with this:
 Products used: Pink Paislee Mistletoe & Co Naughty or Nice pp, Santa's Workshop pp, punch outs, Stickles-burgundy, Mini ric rac-baby blue, Staz On Ink-Jet Black.
  The how to is simple.
- Cut paper 8 1/4" x 6'.
- Fold in half so it becomes 8 1/4" x 3".
- Fold fold in 3 3/4" and then again.
- Fold the left over flap over.
- Punch hole for ribbon, ink, and add embellishments.
- Use double stick tape to add gift card inside.
 Products used: Amber Road Harvest Hayride pp, Bonfire pp, Postcards pp, Borderline stickers, punch outs, Hambly Elegant Labels rub on-black, Pink Paislee press ons alpha-black, Staz On Ink-jet black.
 And the back of the card:
 Products used: Amber Road Harvest Hayride pp, Autumn Blossom pp, Postcards pp, Fall Festival pp, Expressions cardstock alpha stickers-chocolate, Amber Road Impressions stamps, Staz On Ink-jet black.
I love how many alphas come on this one sheet and its such a great deal too. It was perfect that they come in circles as well since Happy would have made for a tight fit on the card.
 If you have any cool links to DIY handmade projects, or gift wrapping projects, please share them! I would love to see more unique ways to decorate and wrap things up for the holidays. Hope your weekend is great.
Here is the order of the blog hop:
Jana
Suz
Teresa
Kimberly
7 comments:
wow loved all your gift certificates thanks for the tutorials
I LOVE all those gift card holders! Awesome.
Wow is right! You really did a great job with all the gift card holders. Fantastic work
great tutorial(s)! TFS!
I make my husband figure out math for me too. Not my forte'. These are really cute, can't pick a fave!
wow!! what great ideas - love these!
Casino Money tyuueooru
http://stonewalljacksoncarnival.org/ - Download Free Casino
Online casino seems to take the industry by storm.
[url=http://stonewalljacksoncarnival.org/]Free Casino Money[/url]
2.
Download Free Casino
2.
Post a Comment